
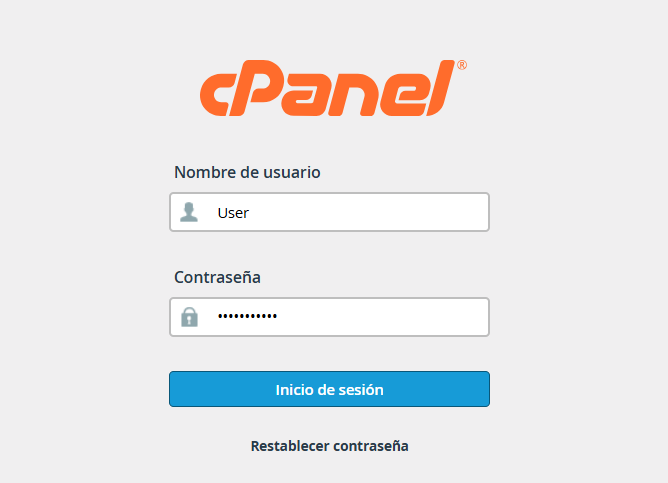
1. Sign in to your cPanel using your standard credentials.
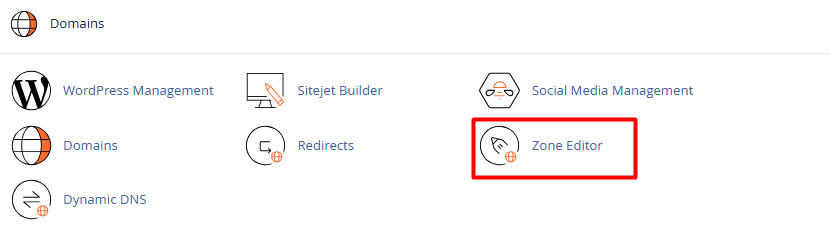
2. Go to the Domains section and click on Zone Editor.
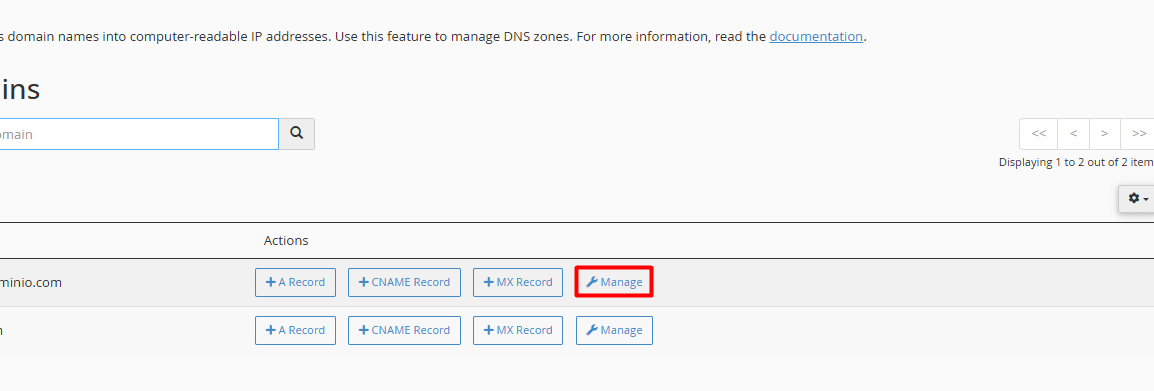
3. You will see a list of your active domains. Click the Manage button next to the domain you wish to configure.
4. Add the new record:
4.1. Click the blue + Add Record button.

4.2. Name: Enter the subdomain or domain name (example., mail or yourcompany.com). Note: cPanel usually appends the domain name automatically at the end.
4.3. TTL (Time to Live): You can leave the default value (typically 14400 or 3600).
4.4. Type: Select the record type you need (A, CNAME, MX, TXT, etc.).
4.5. Record: Enter the value, IP, or destination provided by your service provider.
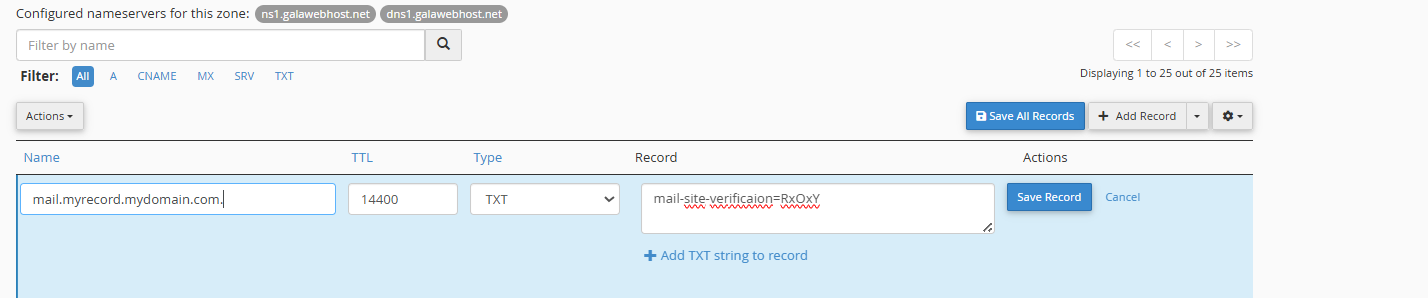
5. Click on Save Record. That’s it! Your configuration has been saved.
Propagation Time: Keep in mind that DNS changes are not instantaneous. It can take anywhere from 1 to 24 hours to reflect globally across the internet due to propagation.
Data Accuracy: A typo in the IP address or record value can take your website or email offline. Always double-check the information before saving.
MX Records: If you are changing your mail records (MX), ensure the new server is ready to receive messages to avoid any loss of incoming emails.